
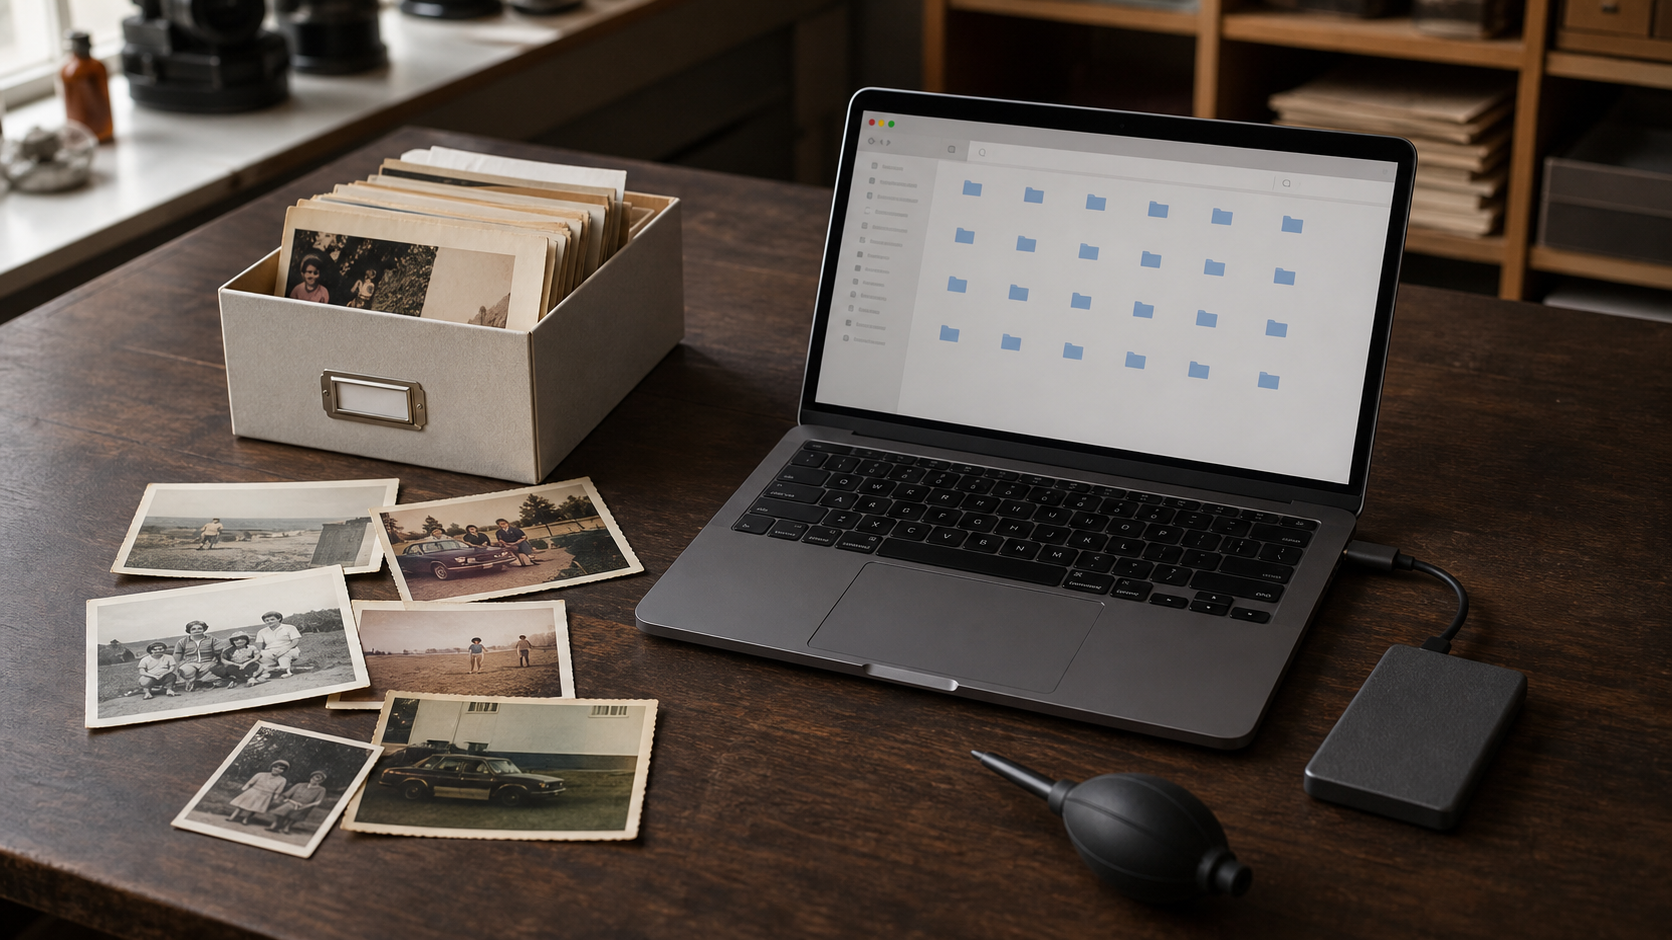
Having your family photographs professionally scanned is an important step towards preserving them. The next step is making sure those digital files remain safe, easy to find and meaningful to the next generation.
A folder full of files named Scan001.jpg, Scan002.jpg and Scan003.jpg may be technically complete, but it will become difficult to use as the collection grows. And if the only copy is on one computer, USB stick or portable hard drive, the entire archive can still be lost through damage, failure or accidental deletion.
The good news is that you do not need complicated software or a perfect cataloguing system. A clear folder structure, consistent file names and reliable backups will do most of the work.
This guide explains how to organise digitised family photos in a practical way that can grow with your collection.
A simple system at a glance
For most families, a dependable digital photo archive comes down to nine steps:
- Gather the files into one working collection.
- Keep an untouched copy of the original scans.
- Create a simple folder structure.
- Rename files consistently.
- Record who, where, when and what the photos show.
- Review duplicates carefully.
- Make backups using the 3-2-1 rule.
- Check the collection and move it to current storage over time.
- Keep the original photographs safely stored.
You can complete these steps gradually. An archive that is simply organised and safely backed up is far better than an ambitious system that never gets finished.
1. Bring your digital photos together
Family photos often end up scattered across computers, phones, USB sticks, discs, cloud accounts and messages from relatives. Begin by copying them into one clearly labelled working folder on your computer or main storage drive.
Do not delete the files from their original locations yet. First confirm that everything has copied correctly and make a backup of the combined collection.
If your photographs have just been scanned, keep the files exactly as supplied before you begin renaming, rotating, cropping or editing them. This becomes your untouched master set.
2. Keep original scans separate from edited copies
Create one folder for the original scan files and do not edit those files directly. If you want to crop an image, repair damage, adjust colour or make a smaller version for social media, work from a duplicate.
A useful top-level structure is:
Family Photo Archive/
  01_Original_Scans/
  02_Organised_Photos/
  03_Restored_Photos/
  04_Sharing_Copies/
  05_Family_Notes/
This protects the best available source file while still giving you freedom to create practical copies for printing and sharing.
For significant photographs scanned at high quality, an uncompressed TIFF file can be a useful archival master, while JPEG is convenient for everyday viewing, email and social media. The Library of Congress explains that keeping a TIFF master and making JPEG working copies is a sensible approach when images will be edited.
However, converting an existing JPEG into TIFF does not restore detail that has already been lost. Preserve the best original file you have, whatever its format.
3. Choose a folder structure your family will understand
There is no single correct way to organise family photos. The best structure is the one that makes sense to the people who will use it.
Most collections work well when organised by decade, year, family branch, event or a combination of these. For example:
02_Organised_Photos/
  1940s–1950s_Grandparents/
  1960s_Childhood/
  1987_Family_Holiday/
  1994_School_and_Sport/
  Weddings/
  Unknown_Dates_and_People/
Keep the number of levels manageable. A structure with too many nested folders can make an image harder to find, not easier.
If you are unsure of a date, use an approximate decade or create a folder such as Unknown_Dates_and_People. You can update it later after speaking with relatives.
The Library of Congress recommends a simple folder structure, meaningful file names and basic descriptive information as practical foundations for personal digital preservation.
4. Give files meaningful, consistent names
Descriptive file names make photographs easier to find even when they are copied to a new computer or opened without photo-management software.
A simple naming pattern is:
YYYY-MM_Family-or-People_Event-or-Place_Sequence.jpgFor example:
1987-12_Smith-Family_Christmas_Crows-Nest_001.jpg
1994_Jane-Smith_School-Formal_001.jpg
c1955_Margaret-and-John_Manly-Beach_001.tif
The c in c1955 means circa, or approximately 1955.
Good file names should be:
- unique;
- consistent across the collection;
- short enough to read easily;
- written with familiar words;
- free from characters that may cause problems on different systems.
Use hyphens or underscores instead of unusual symbols. If you start with the year, photographs will normally sort into chronological order automatically.
The UK National Archives also recommends deciding on a logical naming system early and applying it consistently, without making names unnecessarily long or complex. See its guidance on planning digitisation.
5. Record the story, not just the image
A scan preserves how a photograph looks. It does not automatically preserve what the family knows about it.
Where possible, record:
- who is pictured;
- the place;
- the date or approximate decade;
- the event or occasion;
- who owns or supplied the original;
- any story connected with the photograph.
Some of this information can be included in the file name. Longer notes can be saved in a simple document or spreadsheet using the file name as a reference. Photo-management applications can also store captions, keywords and other metadata, but it is wise not to rely entirely on one particular app.
Ask older relatives about unidentified people and places while you can. A shared viewing session can reveal names, relationships and stories that would otherwise disappear. The photograph may be valuable, but the knowledge attached to it is often irreplaceable.
6. Deal with duplicates carefully
Digitised collections commonly contain duplicates. One may be a scan of an original print, another a smaller phone copy, and another a restored version.
Before deleting anything, compare:
- pixel dimensions and file size;
- sharpness and visible detail;
- colour and exposure;
- cropping;
- whether one version has been restored or edited;
- whether the files contain different useful information.
Keep the best-quality master and clearly label any edited or sharing copies. Do not run a bulk duplicate-removal process unless the full collection is already backed up and you have checked how the software decides that files are duplicates.
7. Use the 3-2-1 backup rule
One copy is not a backup. Even a new USB stick or hard drive can be lost, damaged or fail unexpectedly.
The National Archives of Australia recommends the 3-2-1 rule:
- 3 copies of your files;
- stored on 2 different types of storage media;
- with 1 copy kept off-site.
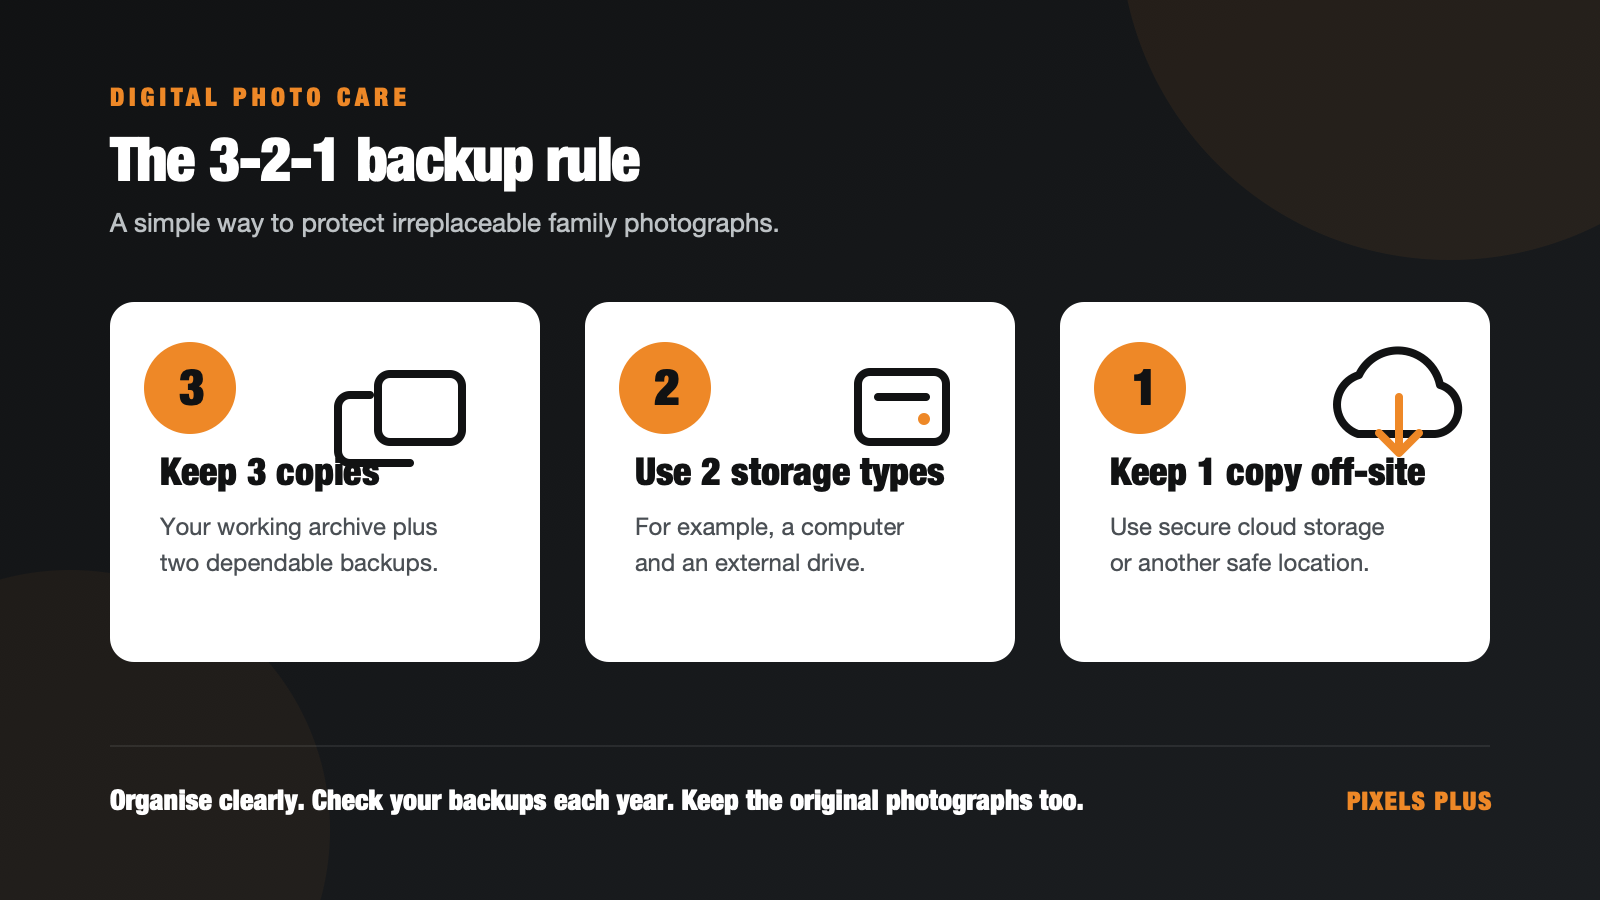
For a family collection, that could mean:
- the working archive on your computer;
- a backup on an external hard drive;
- another copy in reputable cloud storage or on a drive kept securely at a different location.
Cloud storage is useful, but it should not be the only copy. A portable drive is useful, but it should not be kept permanently beside the computer it protects. Fire, theft, water damage or an electrical problem could affect both at once.
Also remember that synchronisation and backup are not always the same thing. If a service immediately synchronises a mistaken deletion across every device, it may not protect you unless it also keeps recoverable file history.
8. Check your archive and keep storage current
Digital files need occasional attention. Storage devices age, account details are forgotten, file formats change and family members replace their computers.
At least once a year:
- open a sample of files from each backup;
- check that folders and file names are still readable;
- confirm that external drives connect correctly;
- check that off-site or cloud copies are current;
- make sure a trusted family member knows where the archive is and how to access it.
The Library of Congress advises moving personal collections to current storage media periodically; one of its preservation guides suggests doing so approximately every five to seven years. See Preservation of Digital Scrapbook Materials.
Do not wait for an old drive, disc or USB stick to fail before replacing it.
9. Keep the original photographs too
Digitising photographs reduces how often the originals need to be handled, but it does not make the physical objects disposable.
Original prints, negatives and slides may contain more information than an older or low-resolution scan. Future scanning and restoration methods may also recover details that were not captured the first time.
Store originals in a clean, cool and dry place using photo-safe sleeves, envelopes or boxes. Avoid self-adhesive “magnetic” albums and PVC plastic. The National Archives of Australia provides further advice on preserving photographs.
A practical weekend plan
If the collection feels overwhelming, begin with one manageable batch:
First hour: Gather the files, create the main folders and copy the original scans into their protected folder.
Second hour: Sort one decade or event and give the files consistent names.
Third hour: Add the people and places you already know, then make a list of questions for relatives.
Final hour: Create the two additional backup copies and test that several files open correctly from each one.
Repeat the process with another batch when you have time. Steady progress is more useful than waiting for the perfect system.
Frequently asked questions
What is the best file format for scanned family photos?
TIFF is commonly used for high-quality archival masters because it can preserve image data without JPEG compression. JPEG is smaller and convenient for viewing, printing and sharing. If both are supplied, protect the TIFF as the master and use JPEG copies for everyday purposes. If your existing scan is only a JPEG, keep that original JPEG—converting it to TIFF will not create extra detail.
Is a cloud account enough to protect my photos?
No single storage location is enough. Combine local storage, a separate backup device and an off-site or cloud copy using the 3-2-1 rule.
Should I organise photos by date, person or event?
Choose the method that best suits the collection. Dates or decades usually make a good main structure, with people, places and events included in file names and notes. Consistency matters more than choosing a perfect system.
What should I do when I do not know who is in a photo?
Place it in a clearly labelled folder such as Unidentified_People rather than guessing. Share a viewing copy with relatives and record any information they provide.
How often should I check my backups?
Check them at least annually and after changing computers, drives, software or cloud services. Plan to migrate the collection to current storage media approximately every five to seven years.
Should I throw away the original photos after scanning?
No. Keep the originals whenever possible. They remain the primary physical record and may be useful for future rescanning, identification or restoration.
Need help digitising your family collection?
Pixels Plus has helped Sydney families care for their photographs, slides and negatives since 1990. We can scan a carefully selected collection or a full shoebox of prints, with options to suit different quantities and needs.
- Shoebox photo scanning
- Print scanning services
- Slides and negatives to digital
- Professional photo restoration
Explore shoebox photo scanning
Visit Pixels Plus at 45 Willoughby Road, Crows Nest NSW 2065, or call (02) 9437 4247 to discuss your collection.