
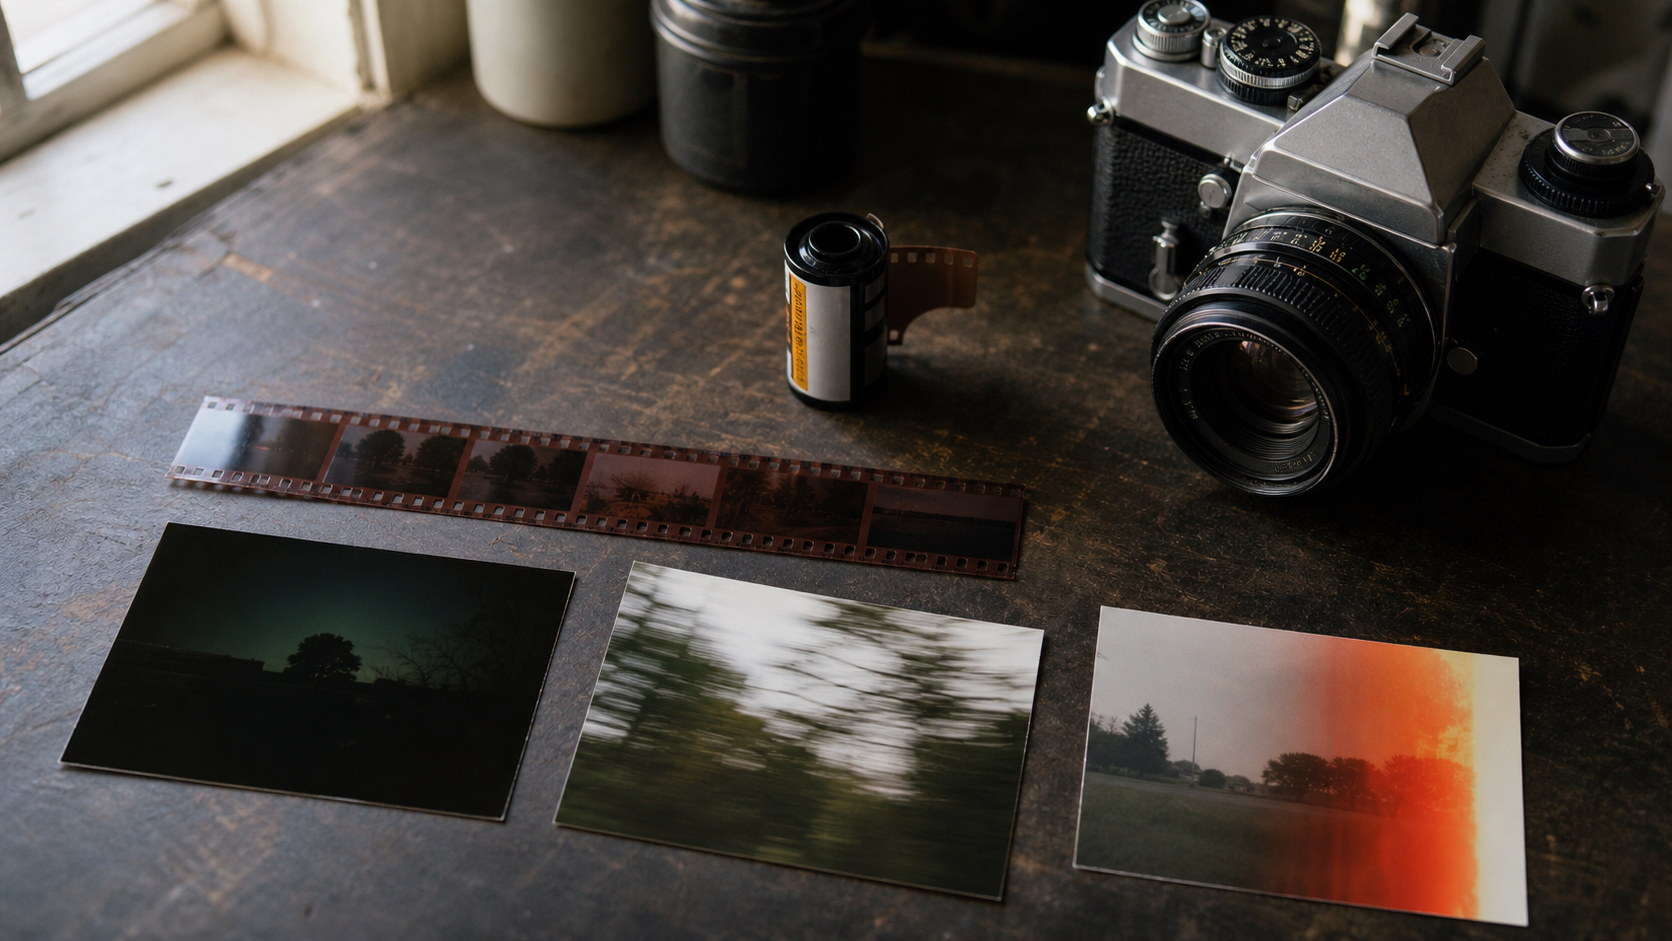
You waited to finish the roll, paid for processing and opened the scans—only to find blank frames, muddy shadows, strange streaks or photographs that are nowhere near sharp.
Before you blame the film, camera or lab, keep the negatives. They are the evidence.
The pattern on the film can often reveal whether the problem happened during loading, exposure, camera operation, processing or scanning. This guide will help you recognise the most common faults and, more importantly, avoid repeating them.
Start With the Negatives, Not Only the Scans
A scanner can brighten a thin negative or reduce the brightness of a dense one, so the digital image does not always show the original exposure clearly. Hold the film by its edges and look at it against a soft light.
- A thin, almost transparent negative usually received too little light—or no exposure at all.
- A very dense, dark negative usually received too much light or was fogged.
- A normally exposed negative should contain a useful range from almost-clear areas to denser shadow and highlight detail.
- The manufacturer name and frame numbers along the perforated edge are useful diagnostic clues.
Do not wipe the image area with your fingers. If you are unsure what you are seeing, bring the negatives and scans to an experienced lab.
Quick Film-Problem Finder
| What you see | Most likely causes | First thing to check |
|---|---|---|
| Entire roll blank or clear | Film did not advance, shutter did not open, lens cap remained on | Are edge markings visible? |
| Dark, muddy and very grainy scans | Underexposure; too little light; wrong ISO; flash not used | Are the negatives unusually thin? |
| Soft or smeared photographs | Camera shake, subject movement or missed focus | Is anything in the frame sharp? |
| Orange, red or pale streaks | Light entering the camera or film cartridge | Does the mark repeat near the same edge? |
| Dark band or part of the frame missing | Shutter fault or incorrect flash-sync speed | Does the same shape repeat across frames? |
| Double images or overlapping frames | Film-advance fault or accidental multiple exposure | Are frame spaces uneven on the negative? |
| Dust, hairs or long straight lines | Dust during scanning or a scratch on the film | Is the mark physically visible on the negative? |
| Strong colour cast or haze | Mixed lighting, expired/heat-damaged film, fogging or scan balance | Is it across the whole roll or one lighting situation? |
1. The Entire Roll Is Blank
This is the film photographer’s worst surprise, but the edge markings can narrow down the cause.
Edge markings are visible, but there are no photographs
If the film name and frame numbers appear normally, the film has been developed. The camera probably did not expose the image area.
Common causes include:
- the leader slipped from the take-up spool and the film never advanced;
- the shutter did not open;
- a lens cap remained on a rangefinder or compact camera;
- the film was severely underexposed.
Loading is the most common place to start. On many manually wound cameras, the rewind knob should rotate as the advance lever moves the film. Our step-by-step 35mm film-loading guide explains how to check this safely.
There are no photographs and no edge markings
This suggests that normal development may not have occurred, although the exact explanation depends on the film and process. Do not throw the roll away. Ask the lab to inspect it and confirm what was processed.
Can a blank roll be recovered?
If the film was never exposed, scanning cannot create photographs that were not recorded. If images exist on the negatives but are missing or poor in the scans, a rescan may help. That is why the physical film matters.
2. The Scans Are Dark, Muddy and Very Grainy
This combination usually points to underexposure. When the negative records too little shadow detail, the scanner has to lift a very weak image. The result may look dark, flat, noisy or unusually grainy.
Common causes include:
- photographing indoors without flash;
- using a shutter speed that is too fast or an aperture that is too small;
- setting the camera ISO higher than the film’s box speed without requesting suitable processing;
- loading ISO 100 or 200 film into a simple fixed-exposure camera in low light;
- a weak or inaccurate light meter;
- standing beyond the useful range of a small built-in flash.
For simple reloadable cameras with fixed shutter and aperture settings, ISO 400 colour-negative film is generally the most flexible choice. ISO 800 can be useful in lower light when the camera manufacturer permits it, because colour-negative film often handles moderate overexposure more gracefully than serious underexposure. A faster film still does not replace flash in a dark room.
Before the next roll, check the ISO setting, use flash indoors, stay within its stated range and choose a film speed that suits the light.
3. The Photographs Are Blurry
“Blurry” can describe three different problems. Look closely at the shape of the blur.
Camera shake
If the whole scene is smeared in one direction, the camera probably moved while the shutter was open. Brace your elbows, press the shutter gently and use a faster shutter speed, flash or tripod.
Subject movement
If the background is sharp but a person, pet or vehicle is blurred, the subject moved during the exposure. A faster shutter speed is the main solution.
Missed focus
If something is sharp but the intended subject is not, the camera focused at the wrong distance. Check the focus indicator, rangefinder patch or distance setting before releasing the shutter. Focus-free cameras also have a minimum working distance; subjects placed too close will remain soft.
4. Orange, Red or Pale Streaks Cross the Frame
Irregular bright streaks or patches are often light leaks—unwanted light reaching the film. Ageing foam seals around the camera back are a common source, but leaks can also come from hinges, damaged doors, loose rewind areas or a film cartridge exposed to strong light.
Look for a pattern:
- a mark that repeats in a similar position across several frames suggests a camera fault;
- a leak concentrated near the first frames may have happened during loading;
- random flare-like shapes can result from strong light striking the lens.
The colour of a leak can offer a clue, but it is not a perfect diagnosis on its own. The repeat pattern and position on the negatives are more useful.
Do not test a suspected camera on an irreplaceable event. Replace deteriorated seals or have the camera checked, then shoot a short test roll in varied light.
5. A Dark Band Covers Part of Each Frame
A hard-edged band, a partly exposed frame or the same missing section repeated across the roll can indicate a shutter problem.
On older SLRs, shutter curtains may travel unevenly or fail to open fully at faster speeds. With flash, choosing a shutter speed above the camera’s flash-sync limit can also leave part of the frame unlit.
If the shape repeats, record which shutter speeds were used and have the camera tested. A scan cannot restore detail where the shutter blocked the exposure.
6. Frames Overlap or Show Two Scenes at Once
Two images on one frame can be a deliberate double exposure, but unexpected overlaps may indicate that the film advance did not move a full frame. Uneven gaps between negatives are an important clue.
Possible causes include:
- a slipping or worn advance mechanism;
- forcing or half-operating the advance lever;
- using a multiple-exposure control unintentionally;
- reloading a partly exposed roll without accurately returning to the next unused frame.
If spacing remains irregular on a second test roll, the camera needs attention.
7. There Are Dust Spots, Hairs or Scratches
First determine whether the mark is on the film or only in the scan.
- A mark visible on the physical negative may be dust, a water mark or a scratch.
- A mark that is absent from the negative may have been introduced during scanning and may be corrected with cleaning and rescanning.
- A long straight scratch repeated through many frames can indicate dirt or damage in the camera’s film path.
Handle negatives by the edges and store them in proper archival sleeves. Avoid rubbing the emulsion or using household cleaners. Ask the lab before attempting to clean valuable film.
8. The Colours Look Strange or the Whole Roll Is Hazy
A colour cast does not always mean the film is ruined. It may result from tungsten or fluorescent lighting, mixed light sources, an expired roll, heat damage or the scanner’s colour balance.
Compare the entire roll:
- one room or lighting condition affected: the light source is a likely cause;
- the whole roll affected consistently: storage, film age, fogging or scan settings may be involved;
- only a few edge areas affected: investigate light leaks.
Colour correction or a careful rescan may improve a recorded image, but it cannot fully replace detail lost through severe underexposure or fogging.
Before You Load the Next Roll
Use this quick check before trusting the camera again:
- Install the correct fresh battery and clean any dirty contacts professionally.
- Set the camera ISO to the film’s box speed.
- Check that the shutter opens and sounds different at slow and fast settings.
- Inspect the camera-back seals for crumbling or sticky foam.
- Load the film carefully and confirm that it is advancing.
- Use flash indoors when your camera requires it.
- Photograph a repeatable test scene in sun, shade and indoor light.
- Note the settings used for several frames.
If you deliberately expose black-and-white film above or below its box speed, tell us before processing. Pixels Plus can push and pull black-and-white film only, not colour film. Some specialist labs may offer colour push/pull processing, so confirm this before you shoot.
Let the Whole Roll Tell the Story
One failed photograph may be a simple mistake. The same fault across a full roll is a pattern—and patterns make problems easier to diagnose.
Keep the negatives, keep the scans and make a note of the camera, film, ISO setting and lighting. Bring them together when asking for help; a single phone screenshot rarely shows the full story.
Pixels Plus processes, scans and prints colour and black-and-white film at our Crows Nest lab. If a roll looks wrong, bring the negatives, scans and camera to 45 Willoughby Road, Crows Nest, and we can help you work out what to check before the next roll.
View film developing and scanning services.
Frequently Asked Questions
Why did my 35mm film come back completely blank?
If edge markings are visible but the image area is clear, the film was developed but probably was not exposed. Incorrect loading, a film-advance problem, shutter failure or a lens cap are common explanations. If edge markings are also absent, ask the lab to inspect the roll.
Why do underexposed film scans look so grainy?
The negative contains very little image information, especially in the shadows. Brightening that weak image during scanning makes grain and scanner noise much more noticeable.
Can dark or badly coloured scans be rescanned?
Sometimes. A better scan or colour correction can improve information that is present on the negative. It cannot recreate detail that the film never recorded.
Should I keep failed negatives?
Yes. Negatives are the best evidence for distinguishing exposure, camera, processing and scanning problems. Store them in archival sleeves and handle them only by the edges.